Getting started
Contents
Getting started
In this tutorial you will get familiarised with GEOGEN and the JupyterLab environment.
Prerequisites
We assume you have access to the GEOGEN Training JupyterHub platform. You can also follow this tutorial if you’re using GEOGEN on your local computer.
Steps
1. Log into the Training Jupyterhub
It starts here: https://jupyterhub.spacefrog.design.
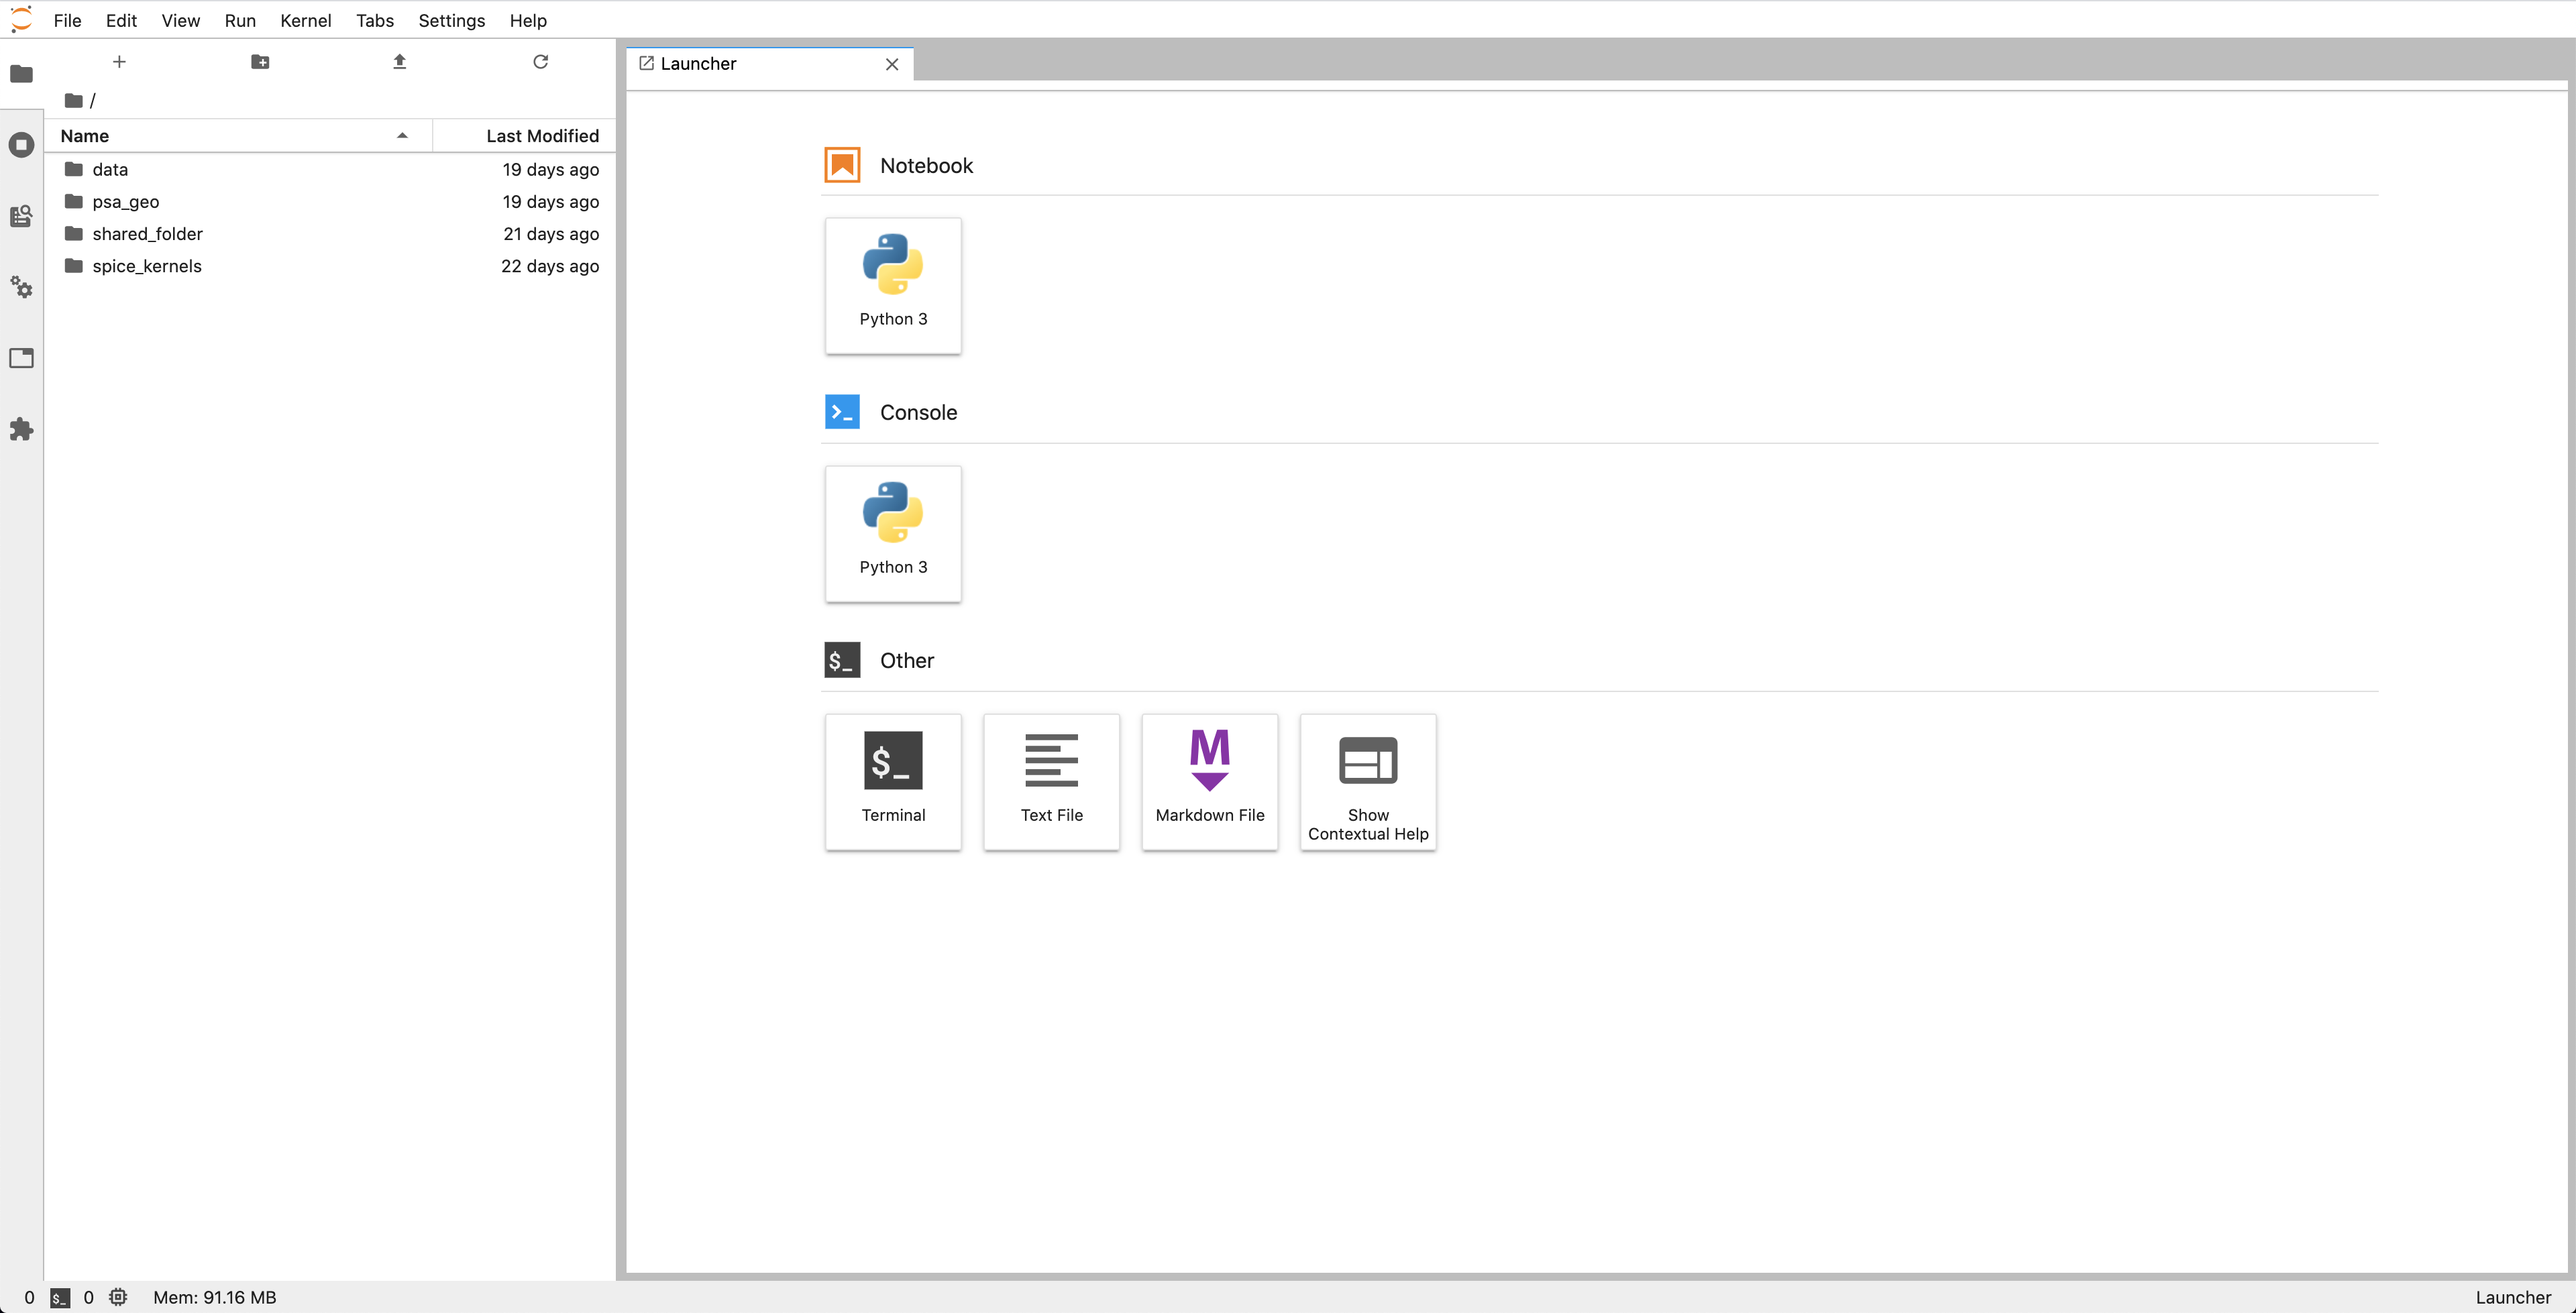
Enter your username and password, and the following JupyterLab interface should load and appear:
Note
If you’re new to JupyterLab, don’t worry, it’s pretty easy to learn and use. It is essential a web interface that let you navigate a computer file system, create and edit files, run terminal sessions, and program interactively using Jupyter Notebooks. Learn more about the JupyterLab Interface.
Note
On your local computer, run init_geogen.sh from your local directory to set required environment variable and
activate your conda environment (see 6. Set environment variables and init script).
2. Explore your working directory
In the JupyterHub environment, your GEOGEN working directory is your home directory.
data: contains GEOGEN application data filespsa_geo: read-only link to a shared installed psa-geo packagespice_kernels: read-only link to shared ESA SPICE Kernelsshared_folder: link to folder shared by all JupyterHub users
3. Open a new terminal session
If you don’t see a Launcher tab, click the + button (top-left corner) to open a new Launcher. Then, hit the Terminal button in the ‘Other’ category.
4. Test that GEOGEN is working
Run the geogen script. You should get something like:
Usage: geogen [OPTIONS] COMMAND [ARGS]...

  PSA Geometry Generator (GEOGEN) CLI.

Options:
  --version  Show the version and exit.
  --help     Show this message and exit.

Commands:
  compute  Computes the observation geometry parameters and footprint...
  config   Check configuration for a given mission, instrument or product...
  fov      Check SPICE instrument detectors FOV definition for a given...
  product  Generate a PLF Product item (JSON object) corresponding to an...
  split    Split geometries from input GeoJSON file.
  target   Get information about a given target name, for a specific...
To know which GEOGEN version you’re using, run geogen --version:
geogen, version 5.0.0rc2
5. Explore GEOGEN commands
Get the usage of a GEOGEN command by using the --help option. For example geogen config --help:
Usage: geogen config [OPTIONS]

  Check configuration for a given mission, instrument or product type.

  Examples:
      $ geogen config
      $ geogen config --mission-id=MEX
      $ geogen config --mission-id=MEX --instrument-id=OMEGA
      $ geogen config --mission-id=MEX --instrument-id=OMEGA --product-type=EDR

Options:
  --config-file TEXT              Configuration file (default is /Users/nmanau
                                  d/workspace/geogen/psa_geo/psa_config.json).
  --mission-id TEXT               Name of the mission to be checked.
  --instrument-id TEXT            Name of the instrument to be checked.
  --product-type TEXT             Name of the product type to be checked.
  --addendum-dir TEXT             Addendum kernels directory (default is /User
                                  s/nmanaud/workspace/geogen/psa_geo/data/adde
                                  ndum/).
  --data-dir TEXT                 Output data directory containing B3F,
                                  GeoJSON and LOG directories and files.
  --source-code / --no-source-code
                                  Show source code for computing Geometry.
  --help                          Show this message and exit.
6. Check GEOGEN configuration
Run the config command from your working directory. You should see something like this:
Config file: /Users/nmanaud/workspace/geogen/psa_geo/psa_config.json
ESA SPICE Kernels: /Users/nmanaud/workspace/git-repos/spice_kernels/
TAMN URL: http://localhost:3333/ [OK]
Directories:
  B3F:      /Users/nmanaud/workspace/geogen/data/b3f/
  GEOJSON:  /Users/nmanaud/workspace/geogen/data/geojson/
  LOG:      /Users/nmanaud/workspace/geogen/data/log/
  ADDENDUM: /Users/nmanaud/workspace/geogen/psa_geo/data/addendum/

Missions: ['MEX', 'ROSETTA', 'TGO', 'S1', 'VEX']
Note
Default used configuration file and addendum files are contained with the
psa-geopackage.By default, GEOGEN expects a
data/directory to be located in the same directory it is executed from.
Try to run the config command from other directory. Do you see any differences?
Attention
The config command does not currently check the existence or validity of files and directories.

